"Transform Your Space with a Brush: 10 DIY Painting Secrets Revealed!"

Key Features:
- Choosing the Right Paint and Finish: This section is critical as it guides readers on selecting the appropriate type of paint based on the room's function and desired aesthetics. It emphasizes the importance of choosing durable paints like satin or semi-gloss for high-traffic areas and discusses the benefits of these finishes in terms of durability and ease of cleaning.
- Surface Preparation: This topic is vital because proper surface preparation is foundational to achieving a professional-quality paint job. It includes tips on cleaning, repairing, and priming the walls, which are essential steps to ensure the paint adheres well and lasts longer.
- Application Techniques: This part of the article offers practical advice on how to apply paint effectively using different tools like brushes, rollers, and sprayers. It includes techniques for achieving even coverage and smooth finish, which are crucial for a visually appealing result.
DIY Painting Secrets
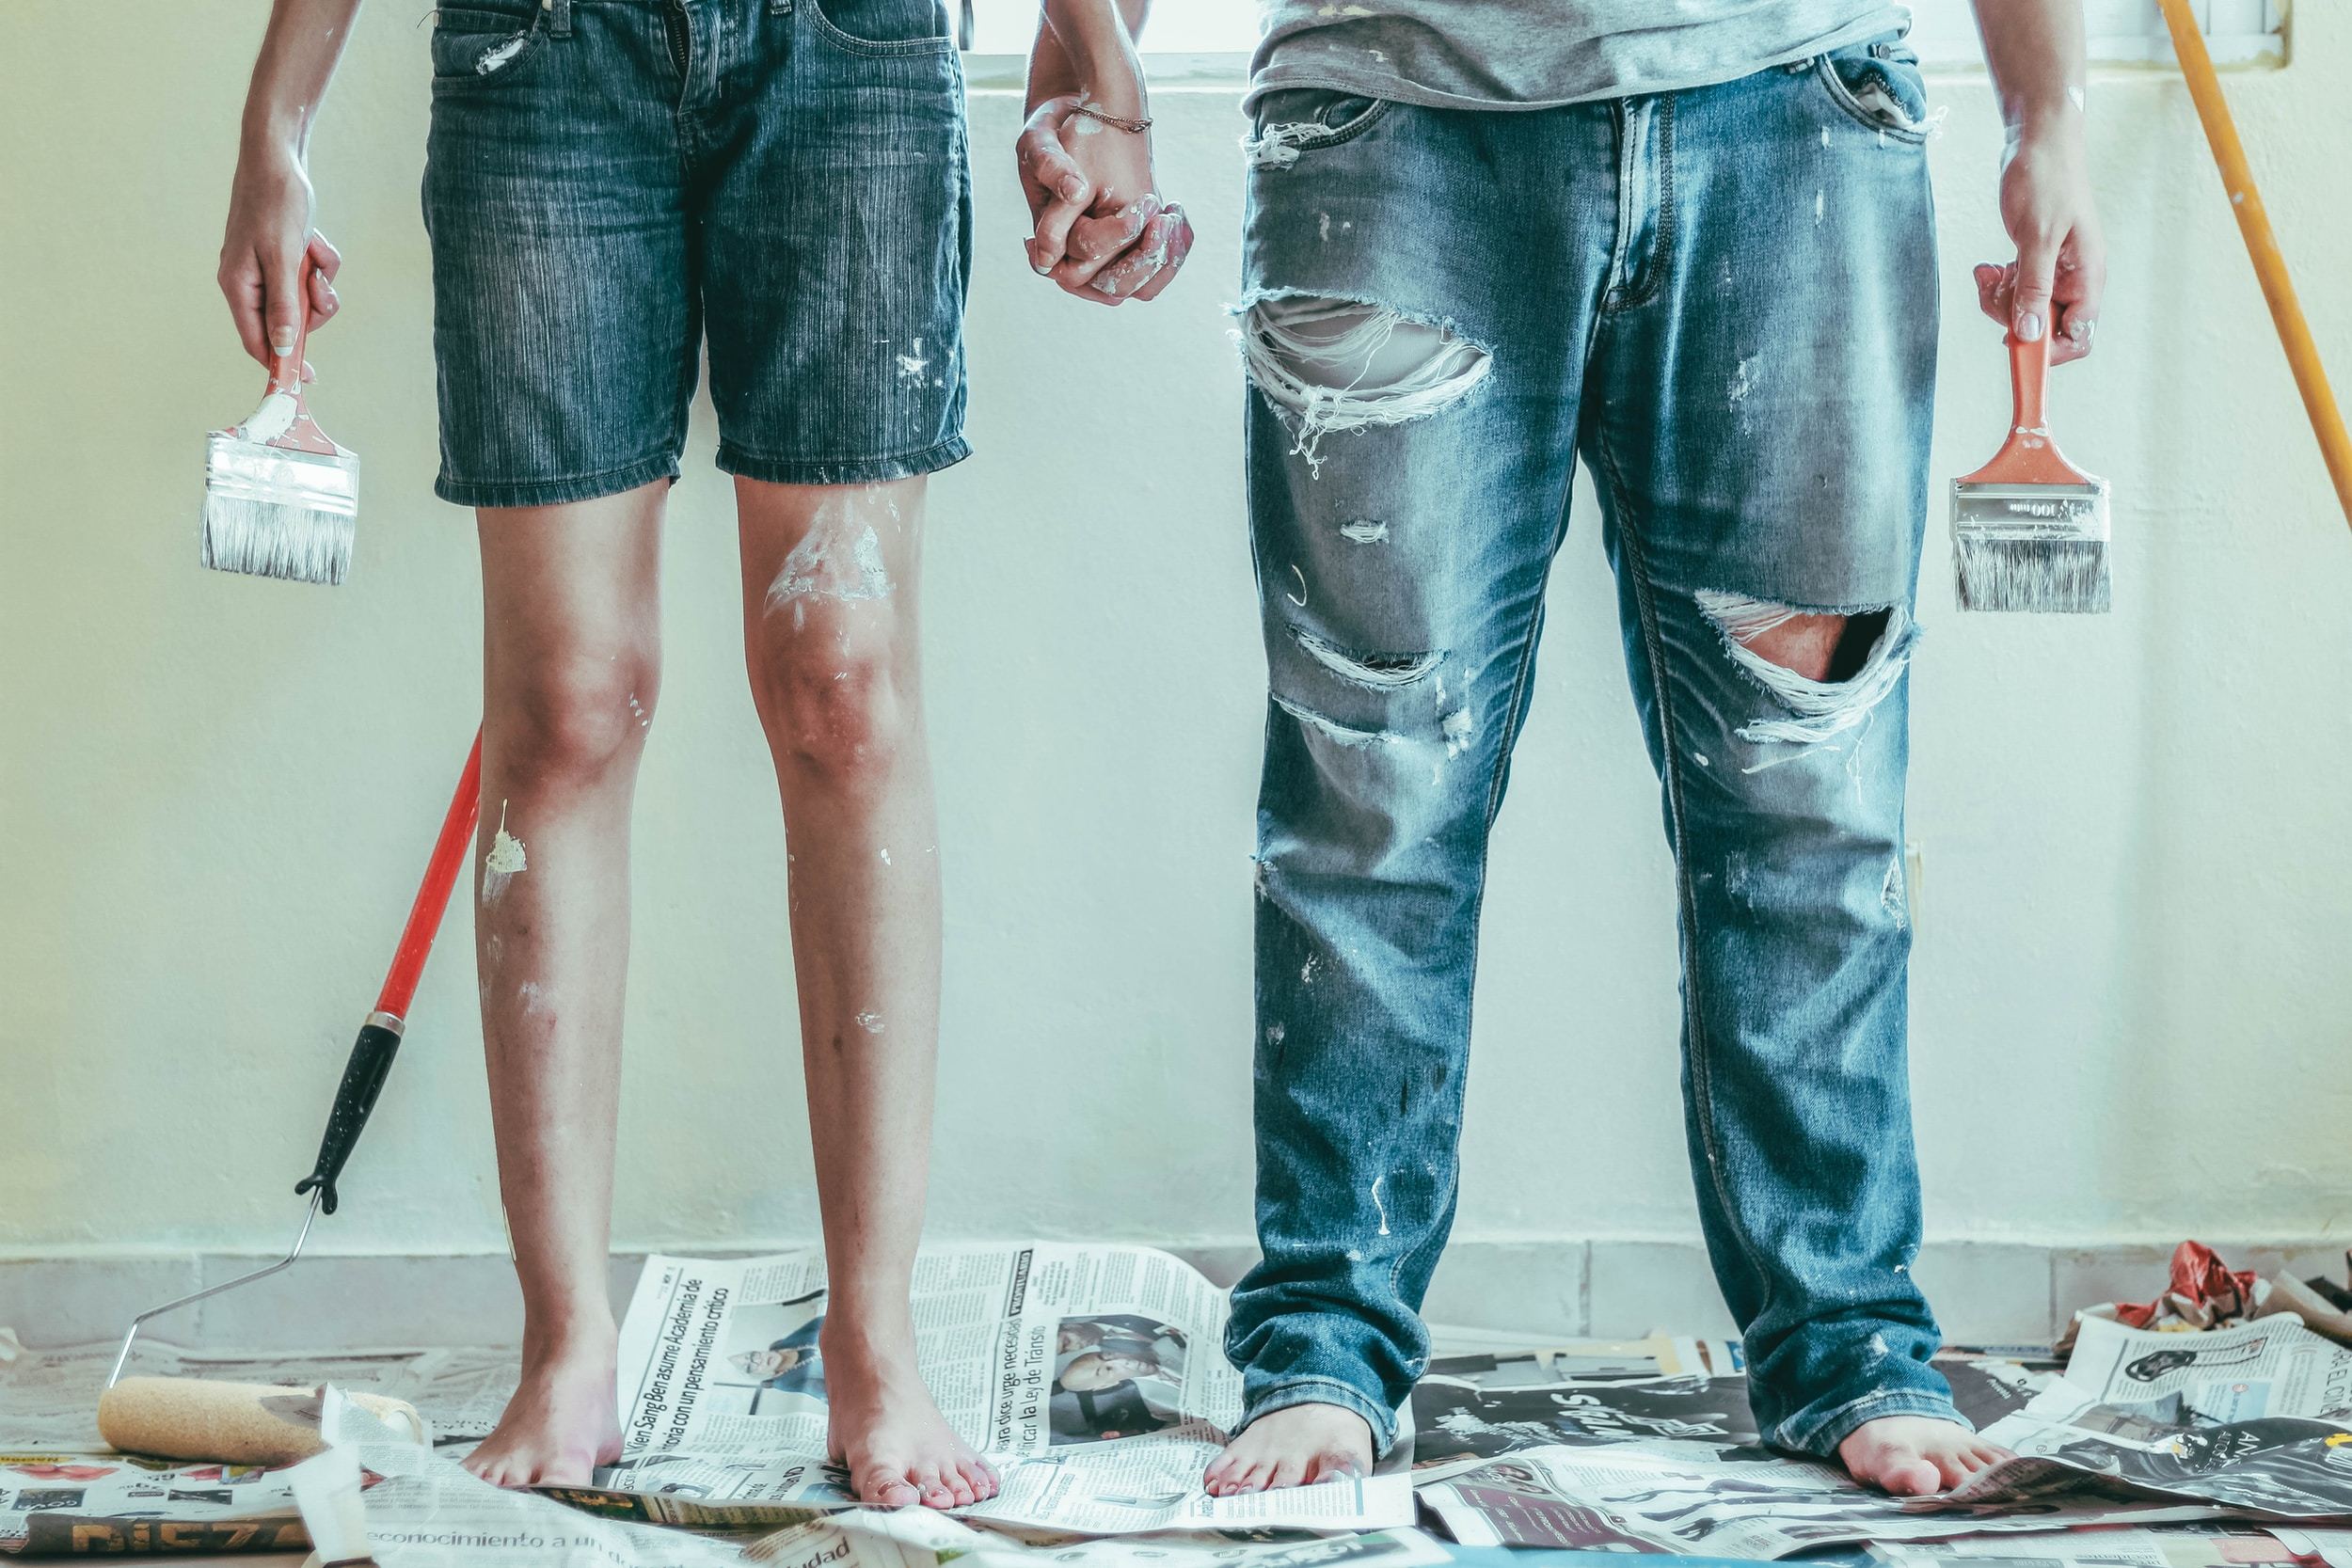
Welcome to Lightmen Daily, where today we're revealing the art of DIY wall painting. Whether you're a seasoned DIY enthusiast or a novice looking to infuse personality into your space, our guide offers insider tips for professional-level results. Join us as Lightmen Painting, Portland's home transformation experts, share their secrets.
"I can be bright or dark, thick or thin. I can change a room's mood but can't change the furniture within. I can be smooth or textured, but I'm not a fabric. What am I?"
See below for answer
Step 1: Planning Your Painting Project
-Choosing the Right Paint-
Choosing the right paint involves more than just picking a color. It's about understanding the room's function, the interplay of light, and the mood you wish to create. For high-traffic areas, Lightmen Painting often recommends satin or semi-gloss finishes. These choices are not only durable and easy to clean but also enhance the aesthetics of the space. This step is crucial in any DIY painting project for achieving that dreamy, magazine-worthy finish in your home.
Step 2: Preparing Your Space
-Protecting Your Belongings-
A successful painting job starts with a clean canvas. Remove or cover furniture with drop cloths to protect from splatters. Taking the time to tape off baseboards and windows can prevent paint bleed and ensure crisp lines, essential for a professional-looking finish. These precautions are invaluable, whether you're updating a cozy corner or rejuvenating the entire house.
Why did the DIY painter always meditate before starting a project? Because they needed to find the "inner peace" before dealing with the "outer coats!" It reminds me of the time I attempted to meditate for calmness before tackling my living room walls. Let's just say my zen-like focus ended up with more paint on me than the walls!
Step 3: Surface Preparation
-The Foundation of a Great Paint Job-
Preparing the surface is the foundation of a great paint job. Filling in holes and sanding down imperfections help create a smooth wall surface. Remember to clean the walls to remove dust or grime that could interfere with paint adhesion. This level of preparation is key to ensuring a flawless finish, setting the stage for a successful painting endeavor.
Step 4: Priming the Walls
-The Secret Weapon-
Priming the walls is a step you don't want to skip. It's the secret weapon for even coverage and enhanced paint adhesion. Primer acts as a base coat, ensuring the true color of the paint shines through, especially important when working with vibrant or deep colors.
In Our Experience:
"We're excited to share expert tips on DIY wall painting to help you achieve professional-level results in your own home. At Lightmen Painting, we understand the importance of meticulous preparation and the right techniques to ensure a flawless finish. From choosing durable paints for high-traffic areas to expertly protecting your furniture and ensuring clean, crisp lines with high-quality painter's tape, every step is crucial. We'll guide you through selecting the right paint finishes, preparing your space, applying the paint smoothly, and handling touch-ups. Follow our comprehensive guide to transform your space with the confidence of a seasoned pro, and enjoy a beautifully painted home that reflects your personality and style."
Step 5: Perfecting Your Technique
-Brush and Roller Basics-
Investing in quality brushes and rollers and mastering the right painting techniques are crucial for a smooth application. Perfecting your technique with long, even strokes and careful edging can make a significant difference. These skills are essential for achieving a professional-grade finish in your DIY painting project.
Step 6: Choosing the Right Color
-Setting the Tone-
Selecting the right color for your space can transform the entire feel of the room. Lightmen Painting advises considering the room's lighting and purpose when choosing a color. This step is crucial in setting the right tone and mood for your space, whether it's a calming bedroom or a vibrant living area.
By focusing on these steps and incorporating relevant keywords such as "professional painting services," "room preparation," "paint color selection," and "painting techniques," the content becomes more searchable and relevant to those seeking painting advice and services, particularly in Portland's home improvement scene.
-Color Selection and Its Impact-
The choice of color in a room is pivotal in setting its ambiance. Lightmen Painting suggests testing paint samples on a small section of your wall to truly understand how they will look in different lighting conditions. This step is crucial in the painting process, as the right color can completely transform the feel of a room. Remember, lighting can dramatically alter the appearance of paint colors, so choose wisely to achieve the desired mood and effect.
Step 7: The Painting Process
-The Rhythm of Painting-
Beginning your painting project from the top and working your way down is an efficient strategy. Patience is key, especially when waiting for coats to dry. Drying time is crucial for a uniform and durable finish. Make the process enjoyable by playing your favorite music. This approach not only makes the task more enjoyable but can also be quite therapeutic.
"Remember, painting your room is like painting the canvas of your life. Every brushstroke is a reflection of your choices and changes. Just like that time I chose a vibrant color to revitalize a dull room, every change you make adds character to your life's story. Embrace each step, from choosing your palette to applying the final touch. Because in the end, it's not just about the colors on your wall, but the transformation within yourself. You're not just painting walls; you're setting the stage for new memories and experiences."
Step 8: Cleanup and Touch-ups
-The Final Touch-
Effective cleanup throughout the painting process and keeping extra paint for touch-ups can significantly enhance the final look. Touch-ups are an essential part of the painting process, ensuring that your results look professional and polished. This attention to detail is what elevates a DIY project to a professional level.
Step 9: Adding Finishing Touches
-Beyond the Paint-
After painting, consider adding finishing touches like trim, moldings, or creating a feature wall. These elements can significantly enhance the overall design of your room, making it look more curated and thoughtfully designed. This step transitions your space from merely painted to professionally styled.
Step 10: Enjoying Your New Space
-The Big Reveal-
Once you've completed your painting project, take a moment to step back and admire your work. You've transformed your space with your own hands, an accomplishment worth celebrating. This final step is a rewarding part of the DIY painting process, reflecting your hard work and creativity.
Step back and admire your work. You’ve transformed your space with your own hands. Celebrate your accomplishment – maybe even throw a room-reveal party!
Do You Have Questions? Give Us A Call With Any & All 503-389-5758
-
People Also Ask:
What is the most recommended finish for high-traffic areas and why?
Satin or semi-gloss finishes are highly recommended for high-traffic areas due to their durability and ease of cleaning. These finishes can withstand more wear and tear than flat or matte finishes and are less likely to show stains, making them ideal for rooms like kitchens and hallways where walls frequently need wiping down.
How can the right primer enhance the color and durability of paint on walls?
Priming the walls before painting acts as a foundation that enhances both the color vibrancy and the durability of the topcoat. Primer helps in providing a smooth, uniform surface that enhances paint adhesion, which in turn reduces the amount of paint needed and extends its longevity by preventing peeling and blistering. Especially important when changing wall colors dramatically, primer ensures that the new color does not bleed through or get affected by the underlying tones.
Why is it important to consider the room's lighting when choosing paint colors, and how can one test paint colors effectively?
The lighting in a room can significantly alter the appearance of paint colors, affecting how they look at different times of the day. Natural light tends to reveal the true color, while artificial lighting can enhance or mute certain tones. To test paint colors effectively, Lightmen Painting suggests applying samples to small sections of the wall and observing them under various lighting conditions throughout the day. This method allows for a better understanding of how the color will actually look in the intended environment, ensuring that the chosen hue meets expectations under all lighting scenarios.
-
Subscribe to Our Blog & Elevate Your DIY Game! Never miss a beat! Join the Lightmen Painting community and get the latest insights on painting, DIY projects, and expert tips delivered straight to your inbox.
Have something specific in mind? We’d love to hear your ideas! Let us know what topics or projects you’re curious about—your input could shape our next post.
Subscribe now and let’s transform your spaces together!
"Restoring history is like conversing with time; each layer uncovered tells a richer story."

Answer: Restored historical paint layer
If your in the Portland, Or. area and need advice or a free no obligation estimate call us at 503-389-5758 or email scheduling@lightmenpainting.com
Thanks for stopping by Lightmen Daily! Stay tuned for more practical tips and expert advice on making your painting projects flawless, from wall to floor!
Thanks for stopping by Lightmen Daily! Stay tuned for more practical tips and expert advice on making your painting projects flawless, from wall to floor!
Lightmen Painting Serving: Portland, Tigard, Lake Oswego, Tualatin, West Linn, Milwaukie, Sherwood, Happy Valley, Oregon City, Beaverton, Hillsboro, Gresham