The Ultimate Guide to Refinishing Kitchen Cabinets

Key Features:
- Preparation: Remove contents, hardware, and clean surfaces.
- Surface Prep: Apply deglosser, repair damages, and tape off areas not being painted.
- Priming: Use a stain-blocking primer to cover stains and enhance paint adhesion.
- Painting: Apply a self-leveling, cabinet-specific paint using quality brushes or rollers for a smooth finish.
- Reassembly: Reattach hardware and clean up the area.
Rejuvenating Your Kitchen Cabinets Cost-Effectively
Refinishing kitchen cabinets is a brilliant way to breathe new life into the heart of your home without undergoing a full-scale remodel. This approach not only saves money but also allows for a significant transformation of your kitchen's aesthetic. This article explores various methods of refurbishing your cabinets, including painting, staining, and using refinishing kits, each offering a unique finish and appeal.
How to Refurbish Cabinets Without Sanding
One of the more appealing aspects of refinishing kitchen cabinets is the possibility to skip the sanding process. Avoiding sanding means less mess and less labor, making the project quicker and cleaner. Here’s how you can achieve excellent results without the traditional sanding step:
The Appeal of Skipping Sanding
- Less Mess: Sanding can create a significant amount of dust, which can spread throughout your home, making cleanup a daunting task. By skipping this step, you keep your workspace and home cleaner.
- Less Labor: Sanding is labor-intensive. It requires time and physical effort, which can be particularly challenging in larger kitchens or for those with limited DIY experience.
Cleaning and Prepping the Cabinets
Before you begin applying any new finishes to your cabinets, proper cleaning and preparation are crucial to ensure the new finish adheres well and looks great:
- Cleaning: Start by thoroughly cleaning your cabinets. Remove all grease, dirt, and grime build-up with a good quality degreaser. This step is crucial as paint or stain will not adhere properly to dirty or oily surfaces.
- Repairing: Fix any damages such as dents, gouges, or holes with wood filler. Once the filler dries, smooth it out with a fine-grit sanding sponge to create a flat surface.
- De-glossing: Apply a liquid sandpaper or de-glosser. This chemical solution roughens up the old finish, improving the adhesion of the new finish without the need for manual sanding. Follow the manufacturer’s instructions carefully, and ensure good ventilation.
Products Best Suited for Non-Sanding Refurbishment
- Liquid Sandpaper/De-glosser: This product is ideal for projects where you want to avoid sanding. It effectively etches the surface of glossy finishes, preparing them for a new coat of paint or stain.
- High-Quality Primer: Use a high-quality primer designed for glossy surfaces. This type of primer will adhere to the surface treated with a de-glosser and will provide a good base for the new paint or stain.
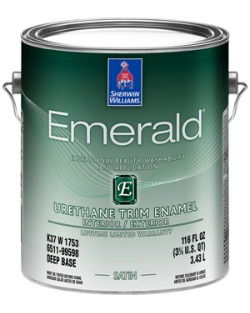
- Cabinet-Specific Paint or Stain: Choose a paint or stain specifically formulated for cabinetry. These products are designed to withstand the wear and tear that cabinets endure and often have built-in capabilities like self-leveling and enhanced durability.
Step-by-Step Guide: Refinishing Cabinets Before and After
Refinishing kitchen cabinets can dramatically change the look of your kitchen, making it brighter and more updated without the expense and disruption of a complete renovation. This guide will provide both a visual and descriptive before-and-after comparison to help you envision the potential results and offer a detailed roadmap on how to achieve these transformations.
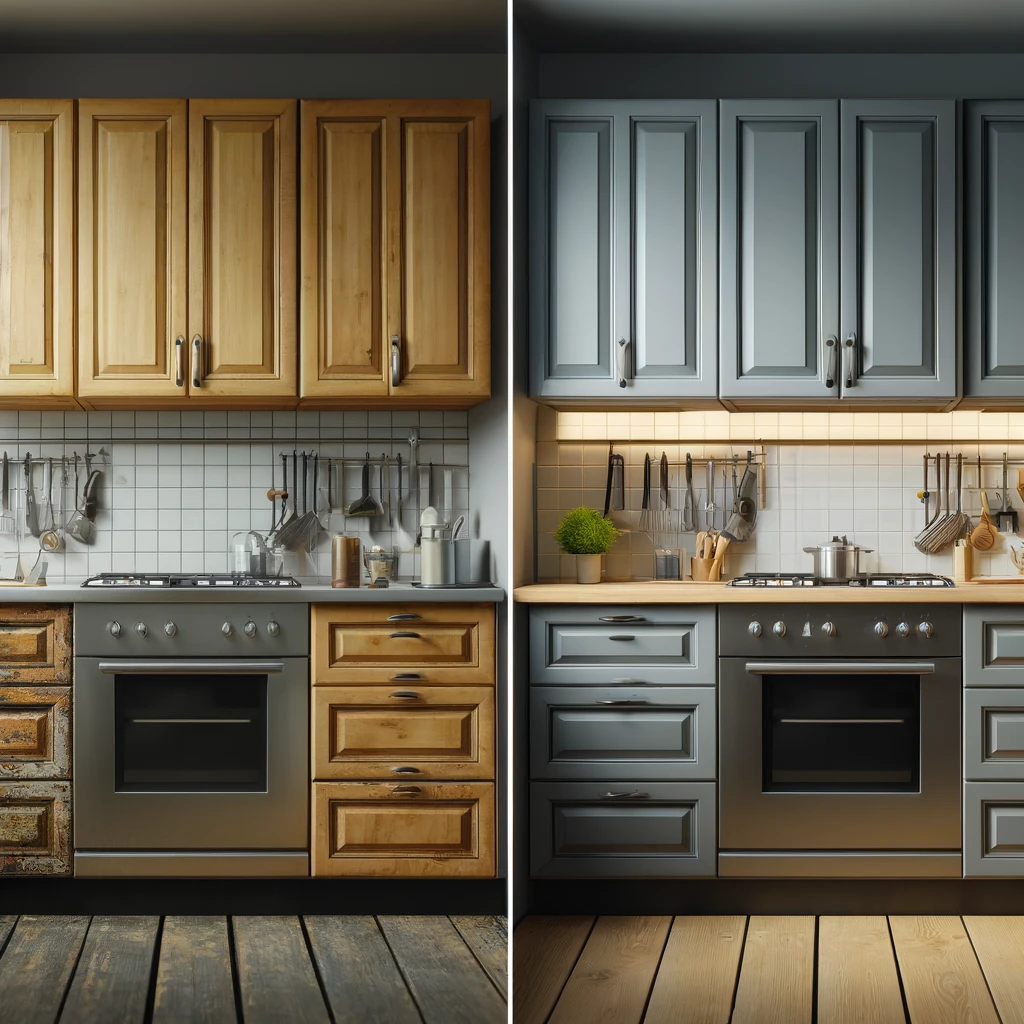
Before-and-After Comparison
Before: Imagine typical kitchen cabinets that have seen years of use—faded paint, perhaps dated colors like deep browns or yellows, visible wear and tear, handles that have lost their shine, and surfaces covered in cooking residue.After: Now picture those cabinets refreshed with a bright, modern color, such as a crisp white or a soft gray. The paint is even and glossy, the handles are updated to a sleek, contemporary style, and the entire kitchen feels cleaner and more inviting.
Step-by-Step Guide to Achieving These Results
Step 1: Preparation
- Clear the Area: Remove all items from your cabinets and clear countertops to create a safe, clutter-free workspace.
- Remove Hardware: Take off all handles, hinges, and hardware. Keep all pieces organized for easy reassembly.
- Clean Thoroughly: Use a degreaser to clean the surfaces of the cabinets thoroughly, ensuring all grease and dirt are removed. Allow to dry completely.
Step 2: Surface Preparation
- Apply De-glosser: If you’re skipping sanding, apply a liquid sandpaper or de-glosser to dull the old finish and ensure the new paint adheres well. Follow the product instructions for the best results.
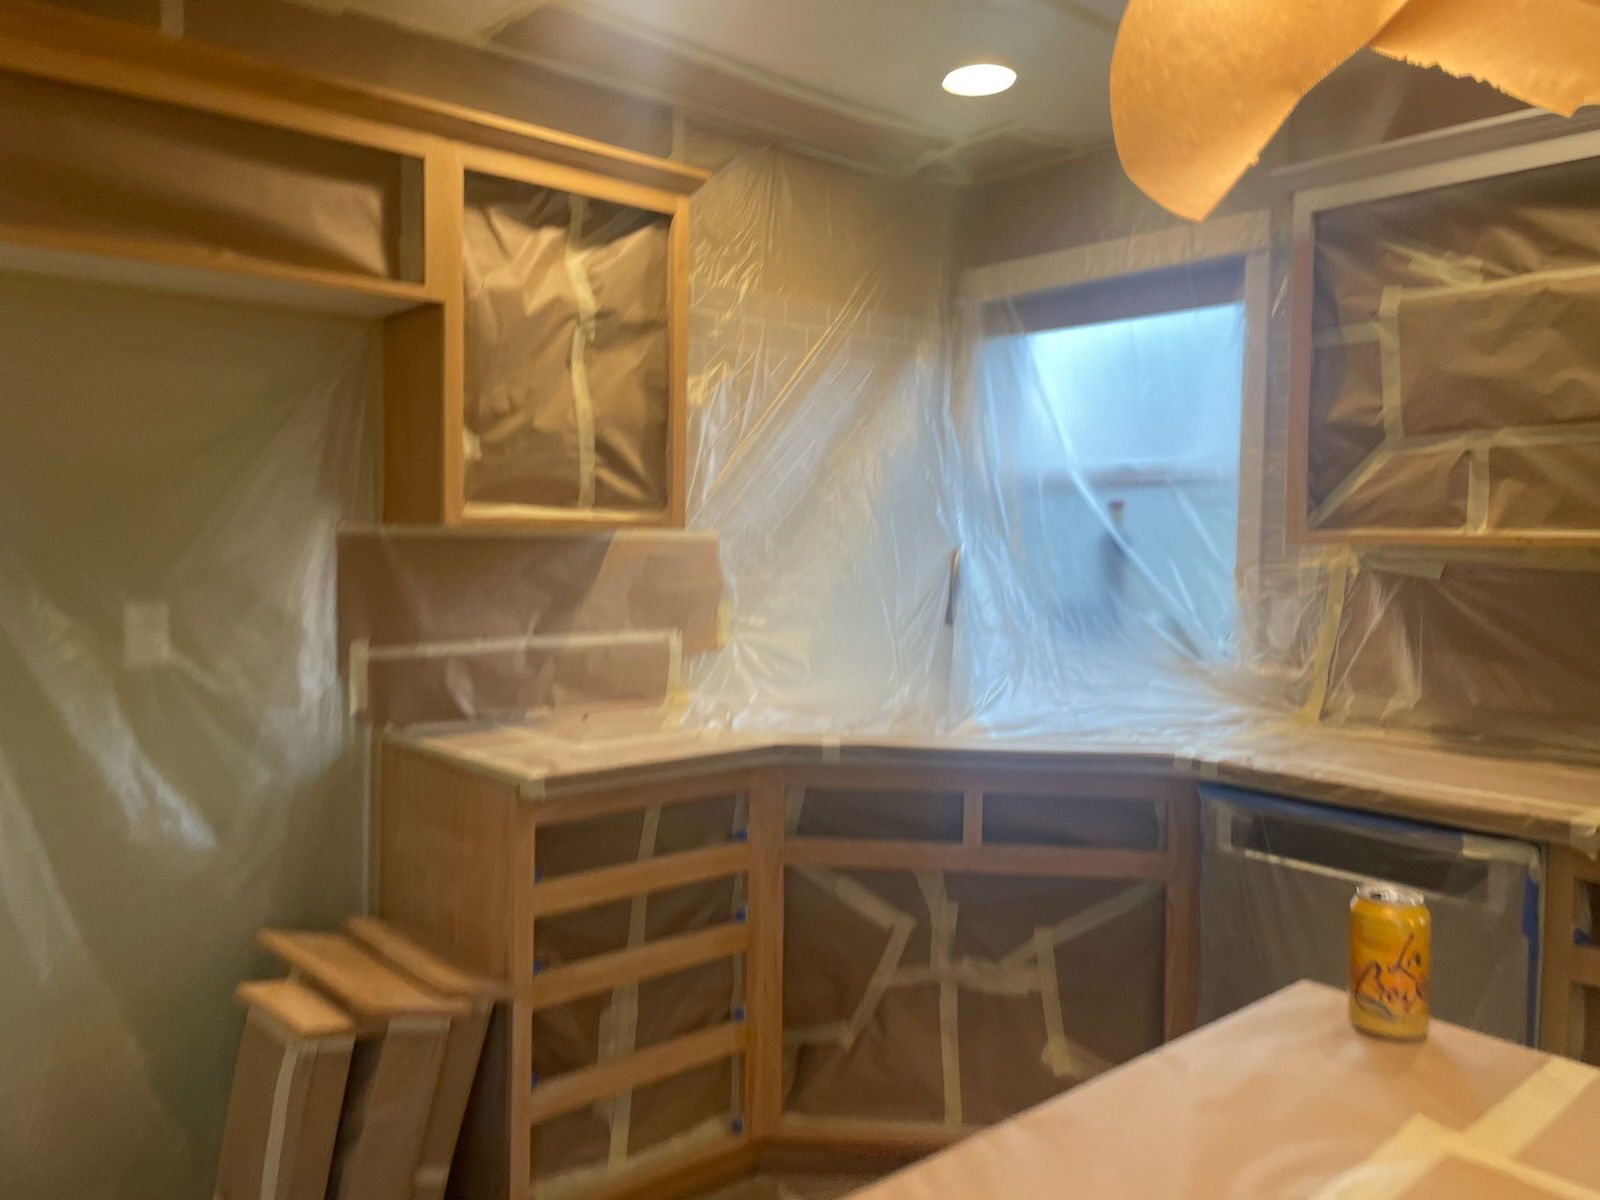
- Mask Off Areas: Use painter’s tape to protect walls and interior surfaces that you don’t want painted.
Step 3: Priming
- Prime the Cabinets: Apply a layer of high-quality, stain-blocking primer designed for glossy surfaces. This will help cover any stains or dark colors and prevent them from bleeding through the new paint. Allow the primer to dry as recommended by the manufacturer.
Step 4: Painting
- Apply Cabinet Paint: Choose a self-leveling, cabinet-specific paint that will minimize brush strokes and leave a smooth finish. Apply with a high-quality synthetic brush or a foam roller designed for smooth surfaces. Apply two coats, allowing ample drying time between coats.
Step 5: Finishing Touches
- Reattach Hardware: Once the paint is completely dry, reattach the hardware. Consider replacing old handles and knobs with new ones to modernize the look of your cabinets further.
- Final Cleanup: Remove all painter’s tape and clean up your workspace. Reinstall cabinet doors and drawers, and restock your cabinets.
In Our Experience:
"Refinishing kitchen cabinets is an efficient way to bring your kitchen to life again, offering a significant visual change without the cost and disruption of a full remodel. This process can include techniques like painting, staining, and using refinishing kits, each providing unique finishes."
How to Refinish Cabinets with Paint
Refinishing kitchen cabinets with paint can dramatically update the look of your kitchen without a full remodel. Here’s how to ensure a professional and lasting finish.
Selecting the Right Type of Paint for Kitchen Cabinets
- Type of Paint: Use a high-quality acrylic latex paint or a specially formulated cabinet paint. These types of paint offer durability and a smooth finish that are essential for the kitchen environment, which often involves moisture and fluctuating temperatures.
Detailed Instructions for Refinishing
- Surface Preparation:
- Clean the cabinets thoroughly with a degreaser to remove all grease and dirt.
- Fill any dents or holes with wood filler, then sand smooth once dry.
- If you're not removing the cabinets, cover the countertops, appliances, and floors to protect from drips.
- Priming:
- Apply a high-quality primer that matches the type of paint you are using. Primer is crucial for ensuring good adhesion of the paint to the cabinet surfaces.
- Allow the primer to dry fully, according to the manufacturer's instructions.
- Painting:
- Apply at least two coats of paint, sanding lightly between coats to ensure a smooth finish.
- Use a fine-bristle brush or a foam roller to apply the paint for a smoother finish.
- Sealing:
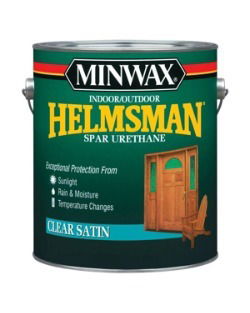
- Although many high-quality cabinet paints do not require a topcoat, applying a clear polyurethane sealer can enhance durability and make cleaning easier.
- Choose a water-based sealer if using acrylic latex paint to avoid yellowing over time.
Tips for Achieving a Smooth, Professional Finish
- Use a tack cloth to remove any dust after sanding.
- Paint in long, even strokes and maintain a wet edge to avoid brush marks.
- Consider using a paint conditioner to improve the flow and leveling of the paint.
How to Refinish Cabinets with Stain
Staining cabinets can enrich the natural beauty of the wood and offer a completely different look from painting. Here’s how to achieve the best results with stain.
Benefits of Staining Versus Painting
- Aesthetic: Stain allows the wood grain to show through, enhancing the natural beauty of the wood.
- Customization: Stains come in a variety of shades and can be mixed for custom colors.
- Durability: When properly sealed, stained wood can be very durable and resistant to kitchen wear and tear.
Step-by-Step Guide on How to Apply Stain
- Surface Preparation:
- Clean the wood thoroughly and sand it to remove the old finish and smooth the surface.
- Wipe down with a damp cloth to remove all sanding dust.
- Applying Stain:
- Apply the stain using a clean cloth or a brush, working in sections.
- Wipe off the excess stain with a clean cloth after a few minutes, depending on the manufacturer's instructions or the desired depth of color.
- Sealing:
- Once the stain has dried completely, apply a sealant such as polyurethane to protect the finish.
- Apply at least two coats of sealant, sanding lightly between coats for a smooth finish.
Protecting the Stain with the Right Sealant
- Choose a sealant that complements the type of stain used (water-based or oil-based).
- Consider the level of sheen you prefer; sealants are available in matte, satin, semi-gloss, and gloss finishes.
Finding Kitchen Cabinet Refinishing Services Near Me
Refinishing kitchen cabinets can be a substantial project, and while DIY can be rewarding, hiring professional cabinet refinishing services ensures high-quality results with minimal hassle. Here’s how to find reputable services near you and why considering a professional might be advantageous.
Tips on Finding Reputable Cabinet Refinishing Services
- Start with Research:
- Online Reviews: Platforms like Yelp, Google, and Houzz can provide reviews and ratings which can help you gauge the reputation and quality of local services.
- Local Recommendations: Ask for recommendations from friends, family, or local social media community groups. Personal referrals can often lead to finding trusted professionals.
- What to Look for:
- Licenses and Insurance: Ensure the service provider has the necessary business licenses and is insured to protect against potential damages.
- Portfolio of Work: Request before-and-after photos of past projects to assess the quality of their work.
- Experience and Specialization: Look for contractors who specialize in cabinet refinishing and have several years of experience.
- Vetting Potential Contractors:
- Get Multiple Quotes: Compare quotes and services from several contractors to ensure you get the best price and service offering.
- Check References: Ask for and contact references to inquire about their experience with the contractor.
- Interview Candidates: Meet with potential contractors to discuss your project in detail and gauge their professionalism and expertise.
Benefits of Professional Refinishing
- Quality and Durability: Professionals bring expertise that ensures the finish is durable, evenly applied, and aesthetically pleasing.
- Time-Saving: A professional team can complete the job faster than a DIY approach, minimizing disruption in your home.
- Advanced Techniques: Professionals have access to high-grade materials and advanced techniques that might not be readily available to DIY enthusiasts.
Before and After: Restaining Kitchen Cabinets
A compelling way to see the value of professional cabinet restaining is through a before-and-after comparison.
Case Study: Restaining Kitchen Cabinets
Before:
- The original cabinets were dated and worn, with faded and scratched old stain that made the kitchen feel dull and outdated.
After:
- The cabinets were restained with a rich, modern shade that revitalized the entire kitchen. The new stain brought out the wood's natural grain, adding character and warmth to the space.
Visual and Material Benefits of Restaining
- Enhanced Aesthetics: Restaining can dramatically change the look of your cabinets and refresh your entire kitchen's appearance.
- Increased Durability: A new layer of stain and topcoat can protect the wood from moisture and wear, extending the life of your cabinets.
- Cost-Effective: Compared to a full cabinet replacement, restaining is more affordable while still providing a significant visual upgrade.
Cost to Refinish Kitchen Cabinets
Refinishing kitchen cabinets is a cost-effective way to update your kitchen without the expense of a full renovation. However, the costs can vary widely based on whether you choose to DIY or hire professionals. Here’s a breakdown of what you can expect in terms of expenses:
DIY Refinishing Costs
- Materials: Costs for DIY projects will primarily consist of materials such as paint or stain, primer, sandpaper, and any tools you might not already have. Depending on the quality of materials you choose, expect to spend between $200 to $600 for an average-sized kitchen.
- Tools: If you don’t have the necessary tools (e.g., brushes, rollers, sanders), you might need to purchase or rent them. Tool costs can range from $50 to $200, depending on what you need.
- Time Investment: While not a monetary cost, the time you spend on a DIY project is significant and should be considered, especially if you need to learn new skills.
Professional Refinishing Costs
- Labor: This is the most significant cost factor when hiring professionals. The cost can range from $1,500 to $4,000, depending on the size of your kitchen, the complexity of the job, and local labor rates.
- Materials: Professionals often have access to high-quality commercial-grade materials that may not be readily available to DIYers, which can also influence the cost.
- Efficiency and Quality: Professionals can typically complete the job faster and with potentially higher quality than an average DIY project, which might justify the higher cost for many homeowners.
Cabinet Refinishing Kits: What You Need to Know
Cabinet refinishing kits are popular for those looking for a middle ground between full DIY and hiring professionals. Here’s what you need to know about these kits:
Review of Cabinet Refinishing Kits
Cabinet refinishing kits typically include all the necessary coatings and applicators needed to refinish cabinets. Popular brands include Rust-Oleum and Nuvo, which offer a variety of finishes and colors.
Advantages and Disadvantages of Using a Refinishing Kit
- Advantages:
- All-Inclusive: Kits come with everything needed to complete the job, which simplifies the shopping process.
- Cost-Effective: Generally cheaper than hiring professionals and often come with detailed instructions to help you achieve good results.
- Consistency: Pre-measured materials help ensure a consistent finish across all surfaces.
- Disadvantages:
- Limited Customization: Color and finish options can be limited compared to mixing your own materials.
- Quality Variances: The quality of the finish may not match what you can achieve with professional-grade products.
Tutorial on How to Use a Typical Refinishing Kit
- Preparation: Remove all hardware and clean the cabinet surfaces thoroughly. Lightly sand if recommended by the kit instructions.
- Application: Follow the kit instructions for applying the paint or stain. This typically involves applying a base coat, possibly a second coat, and then a topcoat or sealer.
- Drying: Allow sufficient time for drying between coats, as specified by the kit.
- Reassembly: Once all components are dry, reassemble the hardware and attach the doors and drawers back to the cabinet frames.
The Benefits of Refinishing Kitchen Cabinets
Refinishing kitchen cabinets offers a fantastic opportunity to transform the look and feel of your kitchen without the extensive cost and inconvenience of a full remodel. Whether you choose to take on the project yourself or hire professionals, the benefits of refinishing can be significant.
Summarizing the Benefits
- Cost Efficiency: Refinishing cabinets is substantially more cost-effective than replacing them. It allows you to update your kitchen's aesthetic for a fraction of the price of new cabinets.
- Customization: Whether DIY or professional, refinishing gives you the flexibility to choose from a wide range of colors, finishes, and techniques. This customization lets you tailor the look to perfectly fit your home's decor and your personal style.
- Increased Home Value: A fresh, modern kitchen can significantly boost your home's market value. Refinishing cabinets can be a key part of achieving this update, making your kitchen more appealing to potential buyers.
- Sustainability: By refinishing existing cabinets, you're reducing waste and the demand for new raw materials, contributing to a more sustainable home improvement approach.
- Time Savings: Compared to a full kitchen remodel, refinishing cabinets requires less time, meaning your kitchen will be back in use much faster, whether you opt for DIY or professional services.
Choosing the Right Refinishing Method
When deciding how to approach your cabinet refinishing project, consider the following:
- Needs: Assess what your cabinets need. Are they merely outdated, or do they show significant wear and tear? Your answer might influence whether paint or stain is more appropriate, or whether surface repairs are necessary first.
- Budget: Determine how much you are willing to spend. DIY projects typically cost less but require more of your time and effort. Professional refinishing costs more but usually offers higher quality results and a quicker turnaround.
- Desired Outcomes: Think about the finish and durability you expect. Professional jobs often use high-quality materials that might not be readily available to DIY enthusiasts, potentially leading to longer-lasting results.
Refinishing your kitchen cabinets is an investment in both the functionality and the beauty of your home. Whether you're an avid DIYer or prefer the assurance of professional quality, take the time to consider all options. Reflect on your specific needs, the budget you have available, and the outcomes you’re aiming for.
Ready to give your kitchen a stunning makeover? Begin planning your cabinet refinishing project today, and don’t hesitate to seek advice from experts at your local home improvement store or consult professional refinishing services to ensure your envisioned project becomes a reality. With the right approach, your refreshed cabinets will brighten up your kitchen and bring you satisfaction for years to come.
Do You Have Questions? Give Us A Call With Any & All! 503-389-5758
-
People Also Ask:
What are the benefits of skipping sanding when refinishing kitchen cabinets?
Skipping sanding when refinishing kitchen cabinets offers several benefits, including reducing the mess created by dust and minimizing the labor involved. This method involves less preparation time, making the project quicker and more suitable for those with limited DIY experience or those looking to avoid the extensive cleanup associated with traditional sanding.
How can you refurbish kitchen cabinets without sanding?
To refurbish kitchen cabinets without sanding, start by thoroughly cleaning the cabinets with a degreaser to remove all grease and dirt. Next, use a liquid sandpaper or de-glosser to roughen up the old finish, which helps the new paint or stain adhere better. Apply a high-quality primer suitable for glossy surfaces, followed by your chosen paint or stain. This approach is cleaner and less labor-intensive than traditional methods.
What should you consider when choosing the right paint for kitchen cabinets?
When selecting paint for kitchen cabinets, consider durability, ease of cleaning, and the aesthetic outcome. Opt for high-quality acrylic latex paint or a specially formulated cabinet paint that offers a durable finish capable of withstanding frequent cleaning and exposure to kitchen environments. Additionally, consider paints that have self-leveling properties for a smooth finish and are resistant to peeling and fading.
-
SUBSCRIBE TO OUR BLOG: Stay informed with the latest in Painting and DIY projects by subscribing to Lightmen Painting. Get insights, tips, and more delivered straight to your inbox. We would also love to know what you would like to read about, leave thoughts on where we should go next. Interests, Topics, Ideas, all are welcome.

If your in the Portland, Or. area and need advice or a free no obligation estimate call us at 503-389-5758 or email scheduling@lightmenpainting.com
Thanks for stopping by Lightmen Daily! Stay tuned for more practical tips and expert advice on making your painting projects flawless, from wall to floor!
Definitions
- Refurbishing Without Sanding:
- Advantages: Skipping sanding reduces mess and labor.
- Preparation: Thoroughly clean cabinets, repair damages, and apply a liquid sandpaper or de-glosser.
- Recommended Products: Liquid sandpaper/de-glosser, high-quality primer, cabinet-specific paint or stain.
- Step-by-Step Guide: Refinishing Cabinets:
- Preparation: Clear the area, remove hardware, and clean cabinets.
- Surface Preparation: Apply de-glosser and mask off areas.
- Priming: Prime cabinets with a stain-blocking primer.
- Painting: Apply cabinet paint in two coats, allowing drying time between coats.
- Finishing Touches: Reattach hardware and clean up the workspace.
- Refinishing with Paint:
- Paint Selection: Use high-quality acrylic latex or cabinet-specific paint.
- Detailed Instructions: Clean, repair, prime, paint, and seal cabinets for a professional finish.
- Refinishing with Stain:
- Benefits: Enhances wood grain, offers customization, and provides durability.
- Application Steps: Clean, sand, apply stain, and seal for a rich finish.
- Finding Refinishing Services:
- Research: Read online reviews, seek local recommendations, and check for licenses and insurance.
- Benefits of Professional Refinishing: Quality, durability, time-saving, and access to advanced techniques.
- Before and After Comparison:
- Visual Transformation: From dated and worn cabinets to refreshed, modern ones.
- Cost Considerations:
- DIY Costs: Materials, tools, and time investment.
- Professional Costs: Labor and materials, with benefits of efficiency and quality.
- Cabinet Refinishing Kits:
- Review: Kits include coatings and applicators for an all-inclusive solution.
- Pros and Cons: Cost-effective and consistent but limited customization and quality variances.
- Tutorial: Preparation, application, drying, and reassembly steps.
- Benefits of Refinishing Cabinets:
- Cost Efficiency: Fraction of the cost of replacement.
- Customization: Wide range of colors and finishes.
- Increased Home Value: Boosts market appeal and sustainability.
- Time Savings: Faster turnaround compared to remodels.
- Choosing the Right Method:
- Considerations: Needs, budget, desired outcomes.
- Reflection: Reflect on specific needs, budget, and desired outcomes.
Lightmen Painting Serving: Portland, Tigard, Lake Oswego, Tualatin, West Linn, Milwaukie, Sherwood, Happy Valley, Beaverton