Drywall Repair Tips for Crestwood Residents
KEY FEATURES
- Local drywall repair angle
Uses Crestwood as the neighborhood-specific entry point while still supporting Portland interior painting services. - Prep-first painting education
Explains why damaged drywall must be patched, sanded and primed before paint. - Clear conversion path
Includes correct links to interior painting, process and estimate request pages in the right article sections.
Drywall damage has a sneaky way of looking harmless until fresh paint goes on.
A little dent near the hallway. A nail pop in the bedroom. A weird patch from an old picture hook. A water stain near the ceiling that “hasn’t changed in years.” Then you repaint, the light hits the wall, and suddenly every flaw looks like it filed paperwork to become permanent.
For Crestwood residents planning interior painting, drywall repair should come before the paint can ever opens. That is the boring answer. It is also the correct one.
If you live in the Crestwood area of Portland and are preparing for a room repaint, move-in refresh, pre-sale update or full interior repaint, the surface underneath the paint matters as much as the paint color itself. A smooth wall makes fresh paint look clean. A damaged wall makes fresh paint look like lipstick on a drywall problem.
If you are already thinking about repainting after repairs, this is a good time to plan for interior painting in Portland so the wall repair and paint finish work together instead of fighting each other.
THINGS TO KNOW
- Drywall repairs should be completed before painting, not after.
- Primer helps prevent patched areas from flashing through the finish.
- Touch-up paint does not always blend, especially on older or higher-sheen walls.
- Water stains need the moisture source fixed before repainting.
- Texture matching and visible wall repairs are often worth professional help.
What Should Crestwood Homeowners Know About Drywall Repair?
Drywall repair should be handled before interior painting, not after. Small holes, dents, cracks, nail pops, torn paper, failed patches and water stains all need the right repair method before primer and paint.
For Crestwood homeowners, the key drywall repair tips are:
- Fix the cause before patching the wall.
- Remove loose material before applying compound.
- Use thin coats instead of one thick blob.
- Sand the repair smooth and feather the edges.
- Prime patched areas before painting.
- Repaint the full wall when touch-ups will not blend.
- Get help when water damage, texture matching or large repairs are involved.
The goal is not just to fill a hole. The goal is to make the repair disappear after paint.
That is where most DIY drywall repairs go sideways.
Why Drywall Repair Matters Before Interior Painting
Paint does not hide bad drywall.
That sentence should be printed on every paint can in America.
Fresh paint can actually make wall problems more visible because paint reflects light across the surface. If the drywall has dents, ridges, raised patch edges, torn paper or uneven texture, the new paint can highlight those imperfections.
Common Drywall Problems That Show Through Paint
- Nail holes
- Anchor holes
- Dents from furniture
- Door handle damage
- Settlement cracks
- Tape seam cracks
- Water stains
- Torn drywall paper
- Bad old patches
- Sanding scratches
- Texture mismatch
- Paint bubbling
- Peeling paint around repairs
If the surface is not smooth, sealed and properly primed, the final paint job will look weaker than it should.
This is why professional painters spend so much time on prep. Not because sanding drywall is glamorous. It is not. It is dusty, annoying and nobody’s idea of a luxury hobby. But it is what makes the finished wall look clean.
What Causes Drywall Damage in Crestwood Homes?
Drywall damage can come from normal living, old repairs, moisture or home movement.
Crestwood-area homes may have a mix of older interiors, remodeled rooms, basement spaces, bathrooms, hallways and lived-in family areas. Those spaces collect wall damage over time.
Common Causes of Drywall Damage
Furniture impacts
Couches, chairs, bed frames and tables can dent walls, especially during moves.
Door handles
A missing or weak door stop can turn a doorknob into a drywall weapon. Very efficient. Very rude.
Nail pops
Small bumps or circles can appear when drywall fasteners move slightly over time.
Settlement cracks
Homes move a little. Drywall does not always enjoy the journey.
Old wall anchors
TV mounts, shelving, curtain rods and picture hooks can leave larger holes.
Water stains
Leaks, bathroom humidity, condensation or past plumbing issues can stain drywall.
Torn paper
Removing wallpaper, tape, adhesive hooks or old patches can damage the drywall face paper.
Failed previous patches
A rushed patch can look worse after paint than the original damage.
Before you repair anything, identify what caused the damage. If you patch without fixing the cause, the problem may come back.
Which Drywall Repairs Are DIY-Friendly?
Some drywall repairs are reasonable for homeowners.
Others need a steadier hand.
DIY-Friendly Repairs
These are usually manageable:
- Small nail holes
- Tiny screw holes
- Light dents
- Minor scuffs
- Small anchor holes
- Low-visibility patches
- Simple touch-up prep
These repairs usually need lightweight spackle or joint compound, light sanding, spot primer and paint.
Repairs That Get Tricky
These are more likely to show if done poorly:
- Large holes
- Ceiling damage
- Water stains
- Torn drywall paper
- Cracks that return
- Failed old patches
- Texture matching
- Multiple repairs on one wall
- Repairs in rooms with strong natural light
- Repairs before a full interior repaint
The more visible the wall, the less forgiving the repair.
Entryways, living rooms, stairwells and dining rooms are brutal. Light hits those walls from different angles and exposes every ridge. The wall becomes a snitch.
The Correct Drywall Repair Order
Drywall repair has a sequence.
Skipping steps is how repairs show through paint.
Step 1: Identify the Damage
Do not start smearing compound around until you know what you are fixing. Ask:
- Is the wall dented?
- Is there a hole?
- Is the drywall paper torn?
- Is the paint peeling?
- Is there a stain?
- Is the drywall soft?
- Is moisture involved?
- Has this been patched before?
- Is the crack still moving?
A nail hole and a water stain are not the same repair. Treating them the same is how you get a bad result.
Step 2: Fix the Cause
Before patching, fix what caused the damage.
That might mean:
- Adding a door stop
- Repairing a leak
- Improving bathroom ventilation
- Removing loose paint
- Cutting away torn paper
- Addressing recurring cracking
- Scraping old failed patch material
Paint and drywall compound are not problem-solvers if the issue is still active.
They are just temporary disguises.
Step 3: Remove Loose Material
Loose drywall paper, cracked paint, dust and crumbly compound need to go.
The repair needs a stable surface.
Use a putty knife, utility knife or sanding sponge to clean up the area. Do not bury loose material under new compound. It may lift later and ruin the finish.
Step 4: Use the Right Repair Material
Small holes can usually be filled with lightweight spackle.
Larger dents or repairs often need joint compound.
Cracks may need tape.
Torn drywall paper may need sealing before compound.
Water stains usually need stain-blocking primer after the source is fixed.
Using the wrong material is one reason repairs fail or remain visible.
Step 5: Apply Thin Coats
Thin coats win.
One thick coat of compound is tempting because it feels faster. It is not. Thick compound shrinks, cracks, takes longer to dry and sands poorly.
A better approach:
- First coat fills the damage.
- Second coat widens and blends the repair.
- Third coat smooths the finish if needed.
Each coat should feather wider than the previous one.
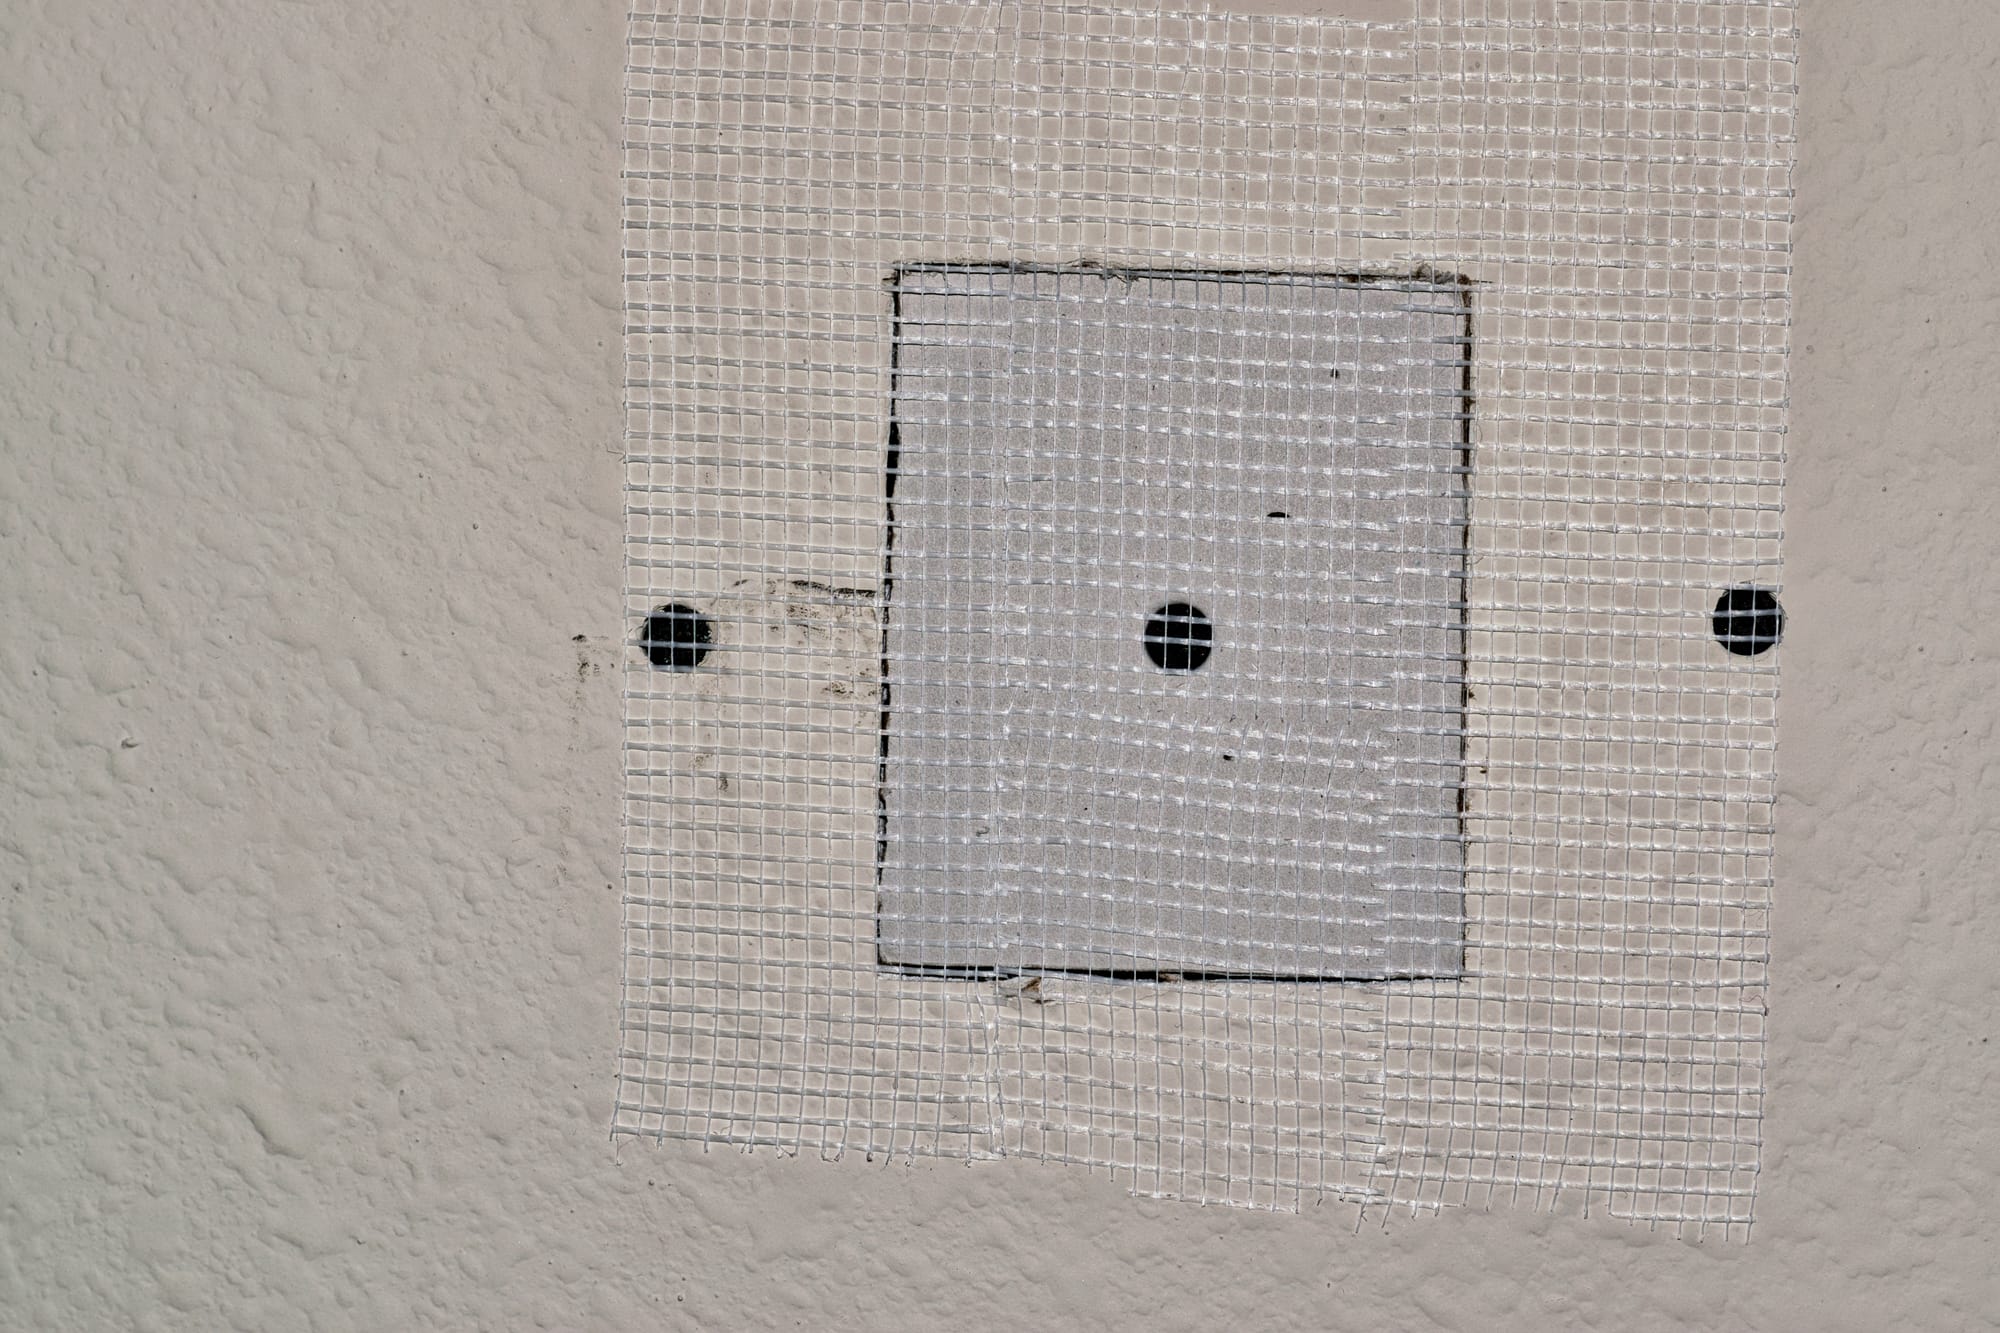
That feathered edge is what helps the repair disappear under paint.
Step 6: Sand Smooth
Once the compound is dry, sand it smooth.
Do not oversand into the paper. Do not leave raised edges either.
Use your hand to check the repair. Your hand will feel ridges your eyes miss.
If you can feel the patch edge, paint will probably show it.
Step 7: Prime the Repair
Primer is where a lot of DIY repairs fall apart.
Fresh joint compound absorbs paint differently than the surrounding wall. If you paint directly over it, the patched area can look dull or shiny compared to the rest of the wall.
That is called flashing.
Spot-prime repaired areas before painting. For larger repairs, primer helps even out absorption and improves the final finish.
Step 8: Paint the Wall
After priming, paint the wall.
For small repairs, touch-up may work if you have the exact paint and the wall is not too worn.
For visible repairs, repainting the full wall from corner to corner usually looks better.
Drywall Repair Mistakes Crestwood Homeowners Should Avoid
Drywall repair is not complicated in theory.
It is just easy to do badly.
Mistake 1: Painting Over Damage
Paint is not filler.
If you paint over holes, dents, cracks or torn paper, the damage will still show.
Mistake 2: Skipping Primer
Primer seals patched areas and prevents flashing.
Skipping primer is one of the most common reasons repairs look obvious after painting.
Mistake 3: Using Too Much Compound
A giant blob of mud does not make the repair stronger. It makes it harder to sand and easier to spot.
Thin layers are better.
Mistake 4: Not Feathering the Patch
The repair needs to blend into the surrounding wall.
If the patch stops abruptly, the edge will show.
Mistake 5: Touching Up When the Whole Wall Needs Paint
Touch-ups do not always blend, especially with older paint, darker colors, higher sheens or walls with strong natural light.
Sometimes the full wall needs repainting.
Annoying? Yes. Correct? Also yes.
Should You Touch Up or Repaint the Full Wall?
This is one of the biggest drywall repair questions.
Touch-up sounds easy, but it does not always work.
Touch-Up May Work If:
- The repair is tiny
- The paint is recent
- You have the exact same paint
- The sheen is flat or matte
- The wall gets low light
- The color has not faded
- The texture matches
Repaint the Full Wall If:
- The repair is large
- There are multiple patches
- The paint is older
- The wall gets side light
- The color is dark
- The sheen is eggshell, satin or higher
- The repair area flashes
- You are preparing to sell
- The room needs a clean finished look
A corner-to-corner repaint gives the cleanest result because the entire wall has one consistent finish.
If you are already repairing several spots, it usually makes sense to think beyond patching and look at the whole room.
Why a Prep-First Painting Process Matters
A good paint job starts before the paint.
That is especially true when drywall repair is involved.
A prep-first painting process should include checking surfaces, identifying repair needs, protecting the home, patching correctly, sanding, priming and painting in the right order.
For drywall repair and painting, process matters because each step affects the next one.
If the patch is bad, sanding gets harder.
If sanding is weak, primer cannot hide the ridge.
If primer is skipped, paint flashes.
If the paint flashes, the wall looks patched.
That is the chain reaction.
A good process breaks that chain before the finish coat goes on.
How Water Stains Should Be Handled
Water stains deserve caution.
Do not paint over a stain until you know the water source is fixed.
Common sources include:
- Roof leaks
- Plumbing leaks
- Window leaks
- Bathroom humidity
- Condensation
- Past overflows
- Moisture behind walls
If the drywall is dry, solid and the source is fixed, the stain may be paintable with the right primer.
If the drywall is soft, swollen, sagging, crumbly or moldy, patching and painting may not be enough. The damaged drywall may need replacement.
Water Stain Repair Sequence
- Find the source.
- Fix the source.
- Let the area dry fully.
- Remove loose material.
- Patch or replace drywall if needed.
- Use stain-blocking primer.
- Repaint the surface.
Regular wall paint usually will not block water stains by itself. The stain can bleed through like it has a personal vendetta.
How to Handle Cracks Before Painting
Cracks need to be handled based on why they appeared.
Small hairline cracks may be cosmetic.
Recurring cracks may need more attention.
Common Crack Areas
- Around windows
- Around doors
- Ceiling corners
- Wall seams
- Stairwells
- Room transitions
- Areas with past settlement
A quick smear of compound may hide a crack temporarily, but if the wall keeps moving, the crack can return.
For cracks that have returned before, consider whether tape, flexible repair products or a wider repair is needed.
If the crack is large, spreading or paired with other structural concerns, get proper evaluation before painting.
How to Repair Torn Drywall Paper
Torn drywall paper is common after removing wallpaper, tape, adhesive hooks or old wall patches.
This repair needs care because exposed drywall paper can bubble when wet compound or paint hits it.
Correct Torn Paper Repair
- Cut away loose paper.
- Seal exposed paper with the right primer or sealer.
- Apply a thin skim coat.
- Sand smooth.
- Prime again.
- Paint.
Do not apply joint compound directly over fuzzy exposed paper without sealing it. The paper can wrinkle and bubble.
Then your repair needs a repair, which is drywall’s way of being dramatic.
How Texture Matching Changes the Repair
Texture matching is where drywall repair gets more difficult.
Smooth walls are one thing.
Textured walls and ceilings are another.
Common texture issues include:
- Orange peel mismatch
- Knockdown texture mismatch
- Sand texture differences
- Old patch texture differences
- Ceiling texture repairs
- Overly smooth patches on textured walls
A repair may be structurally fine but still visible because the texture does not match.
Texture matching is one reason homeowners often call in help. It takes practice, and even then, older textures can be hard to replicate perfectly.
Drywall Repair Before Selling a Crestwood Home
If you are preparing to sell, drywall repair is worth taking seriously.
Buyers notice wall damage.
So do listing photos.
Small wall flaws can make a room feel neglected, even when the home is otherwise solid.
Before listing, consider repairing:
- Nail holes
- TV mount holes
- Dents
- Scuffs
- Old patch marks
- Water stains
- Settlement cracks
- Damaged corners
- Peeling paint
- Bad touch-ups
Fresh paint over well-repaired drywall can make a home feel cleaner and better maintained.
Fresh paint over bad repairs does the opposite. It says, “Someone tried.” Not exactly the dream buyer emotion.
People Also Ask
Can I paint over small drywall dents?
You should repair small drywall dents before painting because fresh paint often makes dents more visible. Fill the dent with lightweight compound, let it dry, sand it smooth, prime the repair and then paint. Small repairs are usually manageable if the wall texture is simple.
Why do drywall patches show after painting?
Drywall patches show after painting when they are not feathered, sanded or primed correctly. The patch may absorb paint differently than the surrounding wall, causing flashing. Strong side lighting, higher-sheen paint and older wall paint can also make repairs more visible.
Should drywall repair be done before or after painting?
Drywall repair should always be done before painting. The correct order is repair, dry, sand, prime and paint. Painting first does not fix holes, dents, cracks, torn paper or stains. It usually makes those problems easier to see.
When Should Crestwood Residents Hire a Professional?
DIY drywall repair is fine for small, simple damage.
Professional help makes more sense when the wall needs to look clean and finished, or when the repair affects a larger painting project.
Consider hiring help when:
- There are multiple damaged areas
- The repair is in a visible room
- You have water stains
- The wall has torn paper
- Texture needs matching
- A ceiling is damaged
- You are preparing to sell
- You have high walls or stairwells
- Touch-ups are not blending
- You want a full room repainted after repairs
A professional painter can connect the repair to the final paint finish. That matters because the goal is not “patch completed.” The goal is “wall looks right after painting.”
IN OUR EXPERIENCE
In our experience, most drywall repair problems show up after paint because the patch was rushed before paint. The hole may be filled, but the edge is not feathered, the surface is not primed or the texture does not match. Good drywall repair is not about making the damage disappear before paint. It is about making sure it still disappears after paint.
What Should a Drywall and Painting Estimate Include?
A good estimate should explain what happens before paint.
For drywall repair and painting, ask whether the estimate includes:
- Number of repair areas
- Type of repairs included
- Sanding
- Texture matching if needed
- Spot priming
- Stain-blocking primer if needed
- Wall repainting vs touch-up
- Paint product
- Number of coats
- Room protection
- Cleanup
- Timeline
- Exclusions
If drywall repair is vague in the estimate, ask for clarification.
“Patch as needed” is not enough if the walls have visible damage.
How Interior Painting Ties Into Drywall Repair
Drywall repair and interior painting should be planned together.
The repair determines how the paint looks.
The paint determines how visible the repair becomes.
This is why it is smart to discuss drywall problems before the project starts. A painter can help decide whether the room needs spot repairs, full wall repainting or broader prep.
If your Crestwood-area home has drywall damage and you are already thinking about repainting, it may be time to request a painting estimate so the repair and painting scope are planned together.
Final Takeaway: Repair First, Paint Second
Drywall repair is not the glamorous part of interior painting.
It is the part that decides whether the finished wall looks clean.
For Crestwood residents, the best drywall repair advice is simple:
Fix the cause. Remove loose material. Patch with thin coats. Sand smooth. Prime the repair. Repaint properly.
Do not expect paint to hide damage.
Paint is the finish line, not the repair plan.
If you want the room to look professionally finished, treat the wall like the foundation of the project. Because it is.
What This Means for Your Portland Home
If your Crestwood-area home has drywall damage, the smartest move is to repair the surface before painting, not after. A clean patch, proper primer and the right repaint plan can make the difference between a wall that looks refreshed and a wall that still shows every old mistake.
Serving Portland Homeowners Since 2019
Lightmen Painting works with homeowners across the greater Portland metro area — from first-time consultations to full exterior repaints. Whether you need a second opinion on a contractor's quote, a diagnosis for peeling paint, or a crew that shows up on time and communicates clearly, we're the team Portland homeowners call.
We serve: Portland, Tigard, Lake Oswego, Tualatin, West Linn, Milwaukie, Sherwood, Happy Valley, Oregon City, Beaverton, Hillsboro, and Gresham.
Get a Free Estimate — No Pressure, No Obligation
Ready to move forward — or just want honest answers before you decide?
📞 Call or text: 503-389-5758
Email: scheduling@lightmenpainting.com
Request Your Free Estimate Online → We respond within one business day. Licensed Oregon contractor — CCB# 228370.
Link Library
- interior painting in Portland
- prep-first painting process
- request a painting estimate
- how to repair and paint damaged drywall
- interior painting preparation guide
- benefits of hiring an interior painting company**
PEOPLE ALSO ASK
What is the best way to fix drywall before painting?
The best way to fix drywall before painting is to remove loose material, apply thin coats of compound, sand smooth, prime the repair and repaint. For larger repairs, feathering the patch wide enough is critical so the repair blends into the surrounding wall.
Can I touch up paint after drywall repair?
You can touch up paint after drywall repair if the patch is small, the paint is recent and the wall has low light exposure. If the paint is older, darker, higher-sheen or the repair is visible, repainting the full wall usually gives a cleaner result.
Do drywall patches need primer before painting?
Yes, drywall patches usually need primer before painting. Joint compound absorbs paint differently than the surrounding wall, which can create dull or shiny spots called flashing. Primer seals the repair and helps the finish coat look more even.
Can a painter repair drywall before painting?
Yes, many painters can handle minor drywall repair before painting, including nail holes, dents, small cracks, patch sanding and spot priming. Larger repairs, water damage, ceiling work or texture matching may require extra prep or separate pricing, so the estimate should clearly explain what is included.
Should I repair drywall before getting a painting estimate?
You do not need to repair drywall before getting a painting estimate. In many cases, it is better to have the painter inspect the damage first. That allows the estimate to include patching, sanding, priming and repainting instead of guessing at the final scope.
How much does drywall repair and painting cost in Portland?
Drywall repair and painting cost in Portland depends on the number of damaged areas, repair size, texture matching, primer needs, wall repainting, ceiling height and room access. Small patches may be simple, while water damage, multiple repairs or full-room repainting require a more detailed estimate.
DEFINITIONS
- Drywall repair tips for Crestwood residents-Local advice for Crestwood-area homeowners fixing drywall damage before interior painting.
- Drywall repair-The process of fixing holes, cracks, dents, stains or damaged drywall surfaces.
- Interior painting-Painting walls, ceilings, trim, doors and other indoor home surfaces.
- Joint compound-A material used to fill and smooth drywall damage, seams and patches.
- Spackle-A lightweight filler often used for small nail holes and minor wall damage.
- Primer-A base coating that seals repairs, improves adhesion and helps paint look even.
- Flashing-Uneven sheen or dull spots that appear when patched areas absorb paint differently.
- Feathering-Blending repair compound outward so the patch edge disappears into the wall.
- Texture matching-Trying to match the repaired area to the existing wall or ceiling texture.
- Water stain-Discoloration caused by moisture, often requiring stain-blocking primer before painting.
- Paint touch-up-Applying paint to a small area instead of repainting the entire wall.
- Prep-first painting process-A painting approach that prioritizes cleaning, repair, sanding, priming and protection before finish coats.
Drywall repair tips for Crestwood residents should focus on repairing wall damage before interior painting begins. Crestwood-area homeowners dealing with nail holes, dents, cracks, water stains, torn drywall paper, failed patches or peeling paint should remove loose material, patch with the right compound, sand smooth, prime repaired areas and repaint with the proper interior paint finish. Drywall repair and painting in Portland homes often requires attention to lighting, wall texture, moisture, primer selection and whether touch-up paint will blend with the existing wall. A prep-first painting process helps homeowners avoid flashing, visible patches, uneven sheen and paint failure after repainting. Interior painting in Portland should treat drywall repair as part of the full painting system, not a separate afterthought.
About Lightmen Painting
Lightmen Painting is a licensed Oregon painting contractor (CCB# 228370) serving the Portland metro area. We specialize in exterior and interior residential painting, cabinet refinishing, and helping homeowners understand their options before spending a dime. Our process is built around clear communication, honest pricing, and work that holds up in the Pacific Northwest climate.