How to Prepare a House for Exterior Painting
Key Features
- Exterior painting preparation improves paint adhesion
- Cleaning and repairs prevent premature paint failure
- Proper priming and sealing protect siding from moisture
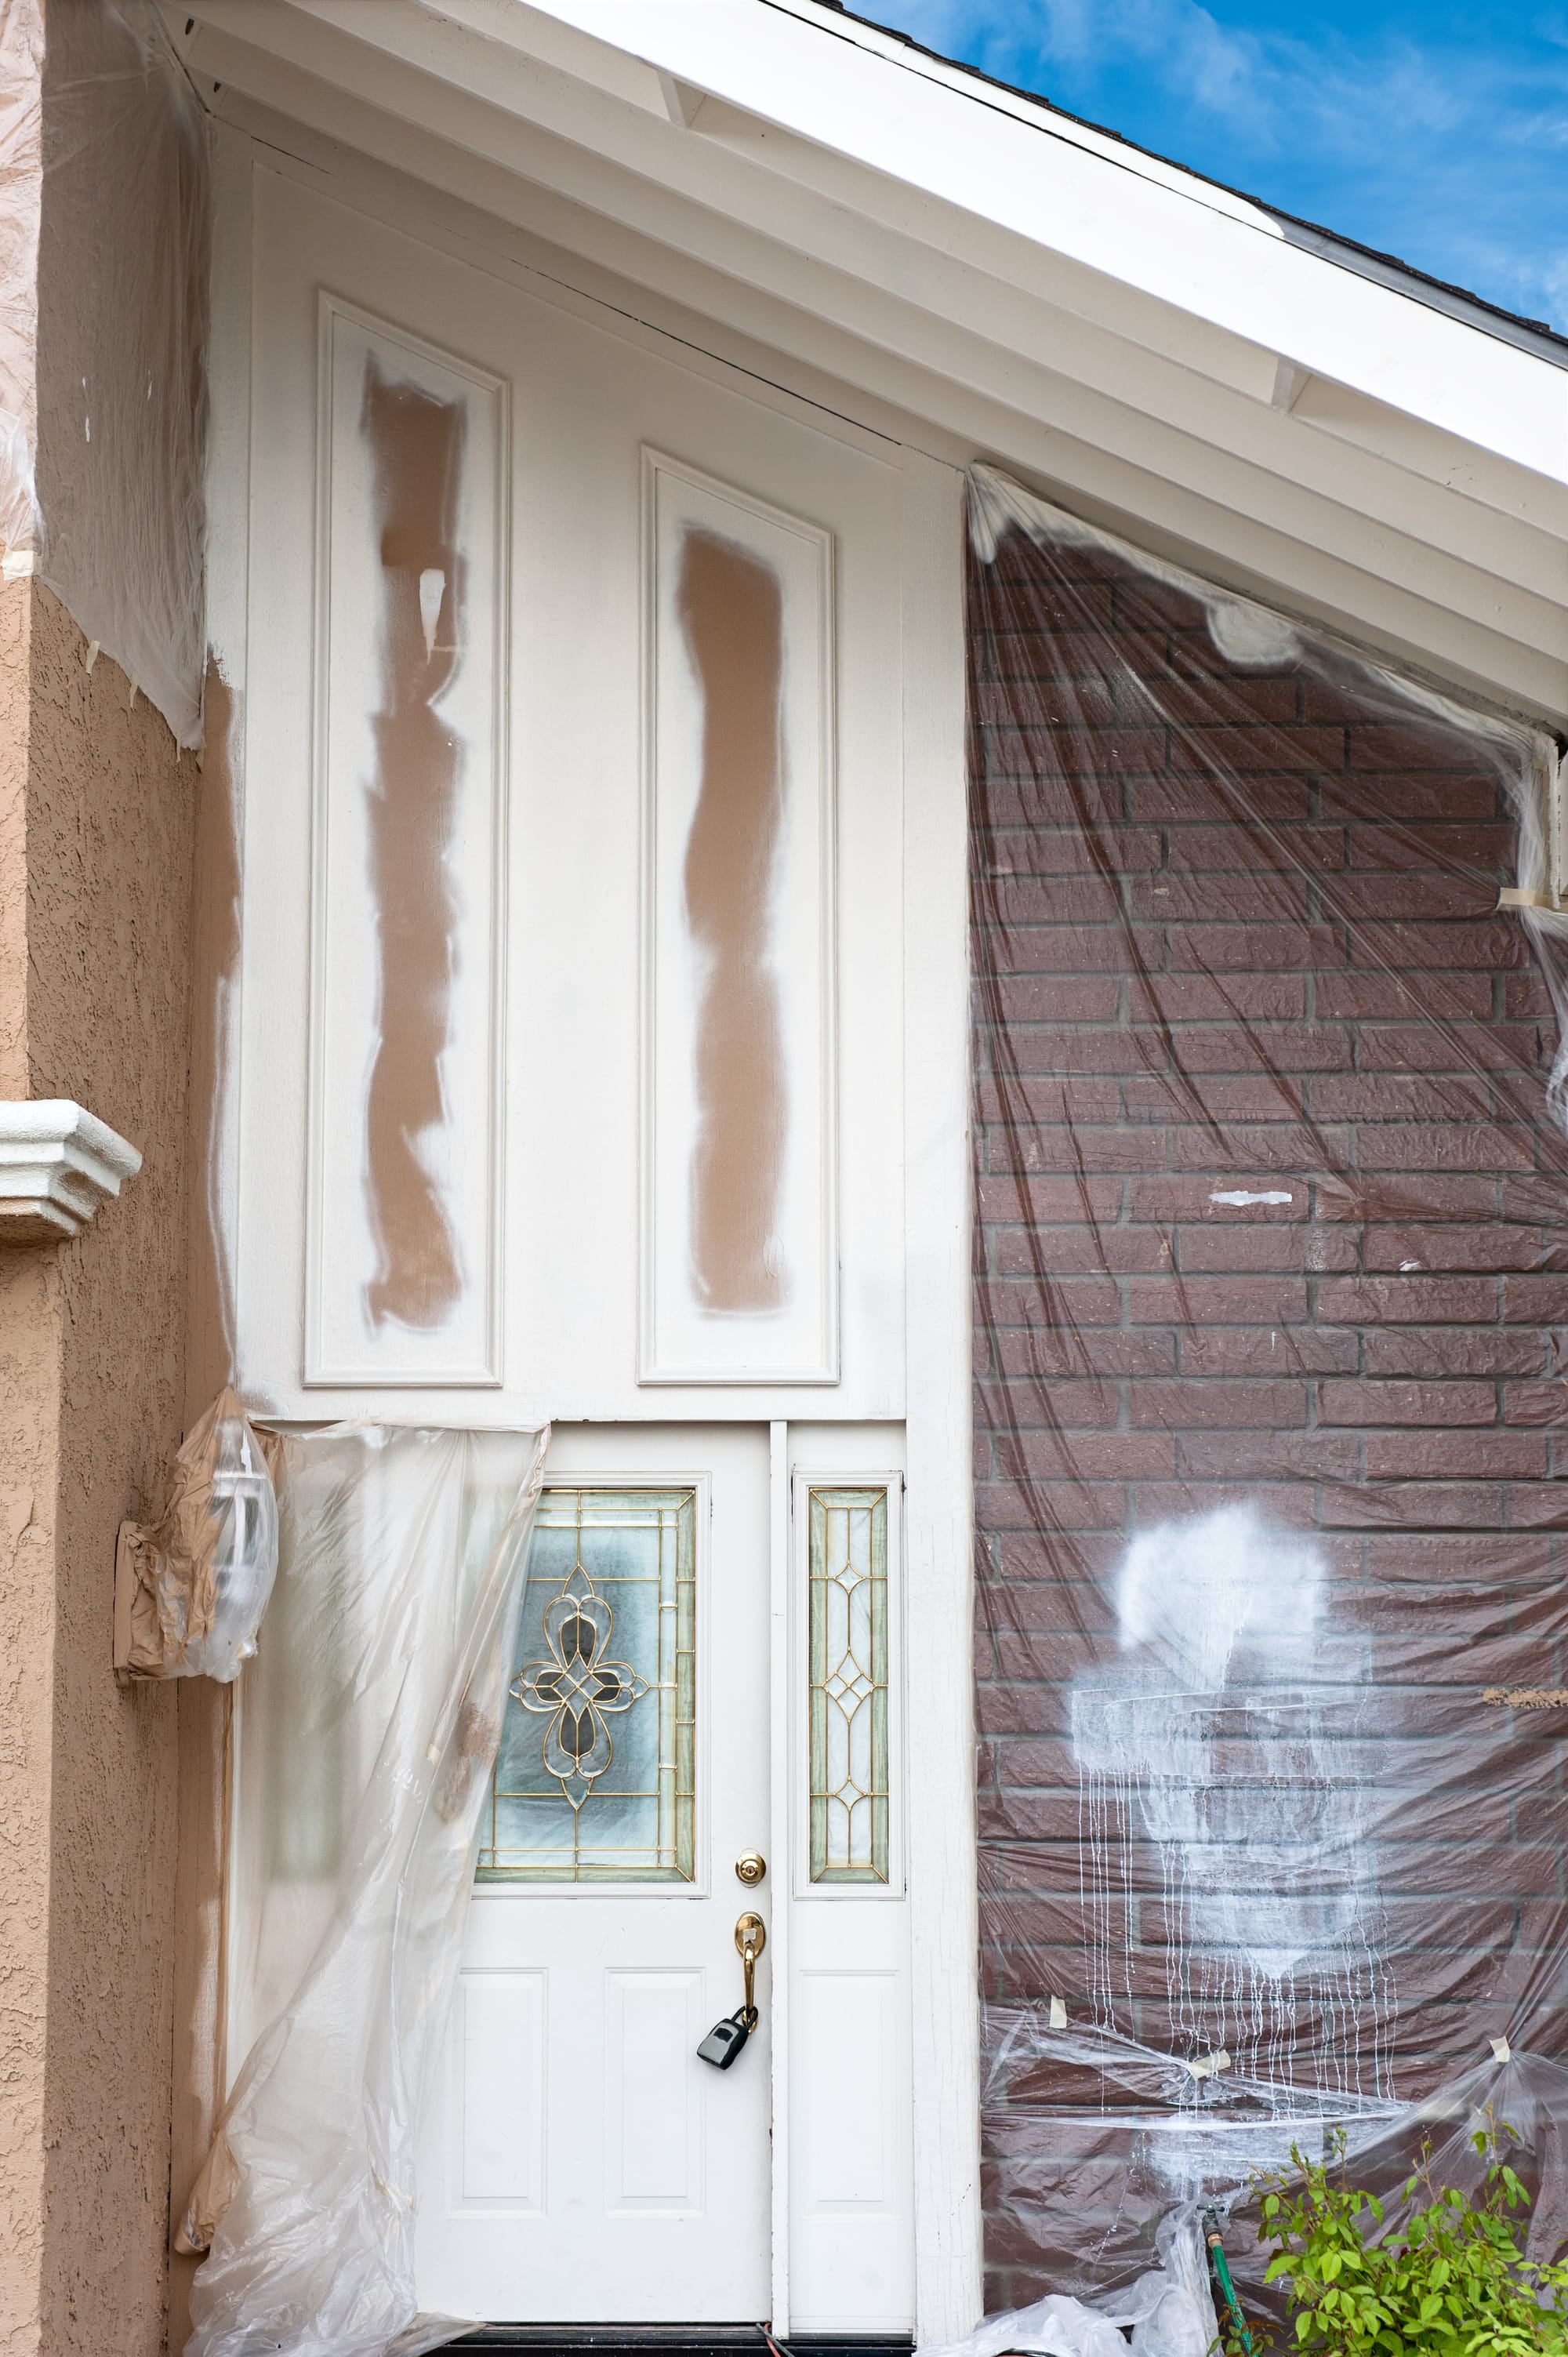
A high-quality exterior paint job starts long before the first coat of paint is applied. In fact, most professional painters will tell you that preparation is the most important part of exterior painting.
Many paint failures happen not because of the paint itself, but because the surface wasn’t prepared correctly. Dirt, moisture, loose paint, and unsealed gaps all prevent paint from bonding properly.
In Portland’s climate, preparation is even more important. Rain, moss, mildew, and long damp seasons can leave siding contaminated with moisture and organic growth.
Learning how to prepare a house for exterior painting helps ensure the paint lasts longer, protects the home, and looks better.
Things to Know
- Preparation often takes most of the project time
- Pressure washing removes contaminants from siding
- Primer improves paint adhesion on bare wood
- Caulking protects siding from water intrusion
- Proper preparation extends paint lifespan
Why Preparation Is Critical for Exterior Painting
Exterior paint protects your home from weather, moisture, and UV exposure. But paint can only perform well if it bonds properly to the surface.
Proper preparation helps:
- improve paint adhesion
- prevent peeling and blistering
- increase paint lifespan
- create a smoother finish
Professional painters often spend 50–70% of the project time on preparation alone.
Step 1: Inspect the Exterior
Before any preparation begins, the entire exterior should be inspected carefully.
Look for:
- peeling or flaking paint
- cracks in siding
- damaged trim
- mold or mildew growth
- caulking failure
Identifying these issues early ensures they can be repaired before painting begins.
Step 2: Clean the Exterior Surface
Cleaning removes contaminants that prevent paint from bonding.
Most homes are cleaned using pressure washing, which removes:
- dirt and dust
- mildew and algae
- moss growth
- loose paint particles
After washing, the siding should be allowed to dry completely before moving to the next step.
Step 3: Remove Loose and Peeling Paint
Loose paint must be removed before repainting.
This step typically includes:
- scraping peeling paint
- sanding rough edges
- feathering transitions between paint layers
Removing unstable paint prevents future peeling.
Step 4: Repair Damaged Areas
Exterior surfaces often require repairs before painting.
Common repairs include:
- replacing damaged siding
- filling holes or cracks
- repairing trim boards
- fixing wood rot
Painting over damaged surfaces can trap moisture and worsen structural problems.
Step 5: Sand Surfaces for Better Adhesion
Sanding improves paint adhesion by slightly roughening the surface.
It also smooths areas where paint was scraped away, preventing visible edges in the finished paint job.
Step 6: Prime Bare Wood and Repairs
Primer helps paint adhere to the surface and creates a uniform base for finish coats.
Primer is especially important for:
- bare wood
- repaired areas
- stained or weathered surfaces
In some cases, stain-blocking primer may be used to prevent discoloration.
Step 7: Caulk Gaps and Joints
Caulking seals small gaps where water could enter behind siding or trim.
Common caulking areas include:
- window frames
- door frames
- siding joints
- trim connections
Proper sealing helps protect the home from moisture damage.
Step 8: Protect Landscaping and Surrounding Areas
Before painting begins, surrounding areas should be protected.
This may include:
- covering plants and shrubs
- protecting walkways and decks
- masking windows and fixtures
Protecting these areas prevents paint overspray and damage.
Step 9: Allow Surfaces to Dry Completely
Moisture trapped beneath paint can cause blistering or peeling.
After washing or repairs, the siding must be completely dry before painting begins.
In Portland’s climate, drying times can sometimes take longer due to humidity and shade.
In Our Experience
Many homeowners underestimate how much preparation goes into a professional exterior paint job. On many homes, preparation takes longer than the painting itself. Thorough cleaning, scraping, repairs, and priming make a huge difference in how long the paint will last.
Common Exterior Preparation Mistakes
Skipping preparation steps is one of the most common reasons paint jobs fail.
Common mistakes include:
- painting over dirt or mildew
- skipping primer
- leaving loose paint behind
- painting damp surfaces
Each of these issues can shorten the life of a paint job.
Professional Preparation vs DIY Preparation
Professional painters typically use specialized tools and experience to ensure surfaces are prepared properly.
Benefits of professional preparation include:
| Professional Prep | DIY Prep |
| thorough inspection | limited experience |
| commercial equipment | basic tools |
| proper repair techniques | potential missed issues |
| consistent surface preparation | uneven results |
Proper preparation can dramatically extend the lifespan of exterior paint.
Do You Have Questions? Give Us A Call!
If you’re in the Portland, OR metro area and you want:
a clean plan before repainting, or
help diagnosing exterior paint failures, or
a crew that resolves issues like adults or
You Just Have Questions…
Here’s the easiest path:
Email: scheduling@lightmenpainting.com
Call: 503-389-5758
-
People Also Ask:
How do you prep a house for exterior painting?
Preparation includes cleaning the siding, scraping loose paint, sanding surfaces, repairing damage, priming bare areas, and sealing gaps with caulk.
Do you need to pressure wash before painting a house?
Yes. Pressure washing removes dirt, mildew, and debris that would prevent paint from bonding properly.
How long should a house dry after pressure washing before painting?
Most homes should dry for 24 to 48 hours, depending on weather conditions.
-
Resources:
- Portland Exterior Painting
- Exterior Paint Condition Report (How it works)
- Paint Project Cost Calculator
- Painting ROI Calculator (optional add)
Definitions
- Prepare a house for exterior painting-The process of cleaning, repairing, and priming surfaces before painting.
- Exterior painting Portland-Professional house painting services in Portland, Oregon.
- Paint adhesion-The ability of paint to bond to a surface.
- Pressure washing siding-Cleaning exterior surfaces with high-pressure water.
- Exterior primer-A base coating applied before paint to improve adhesion.
- Exterior paint preparation-Steps required before applying exterior paint.
- Paint peeling-When paint separates from the surface beneath it.
- Wood siding maintenance-Regular care needed to maintain painted siding.
- Pacific Northwest climate-Wet environmental conditions common in Oregon and Washington.
- Exterior paint lifespan-How long exterior paint lasts before repainting is needed.
Lightmen Painting Serving: Portland, Tigard, Lake Oswego, Tualatin, West Linn, Milwaukie, Sherwood, Happy Valley, Oregon City, Beaverton, Hillsboro, Gresham
Preparing a house for exterior painting involves several critical steps that ensure paint bonds properly and lasts longer. The process begins with inspecting the exterior for damage, cleaning siding with pressure washing, removing loose paint, repairing damaged areas, sanding surfaces, priming exposed wood, and sealing gaps with caulk. Proper preparation prevents paint from peeling, cracking, or blistering over time. In Portland and throughout the Pacific Northwest, preparation is especially important because moisture, moss, and mildew can accumulate on exterior surfaces. Learning how to prepare a house for exterior painting helps homeowners achieve a durable finish that protects their siding from weather and moisture damage.